All guides
Checkpoint reports, live incidents and guards on post
Guards scan each checkpoint, write what they saw and attach a photo. You see every checkpoint with its time, proof, description and photo, and can send it as a report. Incidents reach your screen the moment they are sent. Required questions must be answered. If a guard leaves the site, you are told.
Version 2026-11-08 · TeamMap 3.0.54
Before you start
- An owner, admin, manager or dispatcher login. Sign in at app.teammap.co on a computer.
- Guards use the TeamMap app on their phone.
- The examples here are a demo site, Riverside Plaza, and one guard's night patrol.
At each checkpoint
Step 1The guard scans, writes what they saw, takes a photo
- At the checkpoint, the guard scans its QR code or taps its NFC tag.
- The app then asks what they saw. They cannot go on until they write it.
- Then it asks for the photo. All of it goes with that checkpoint.
- You choose this per checkpoint when you build the patrol.
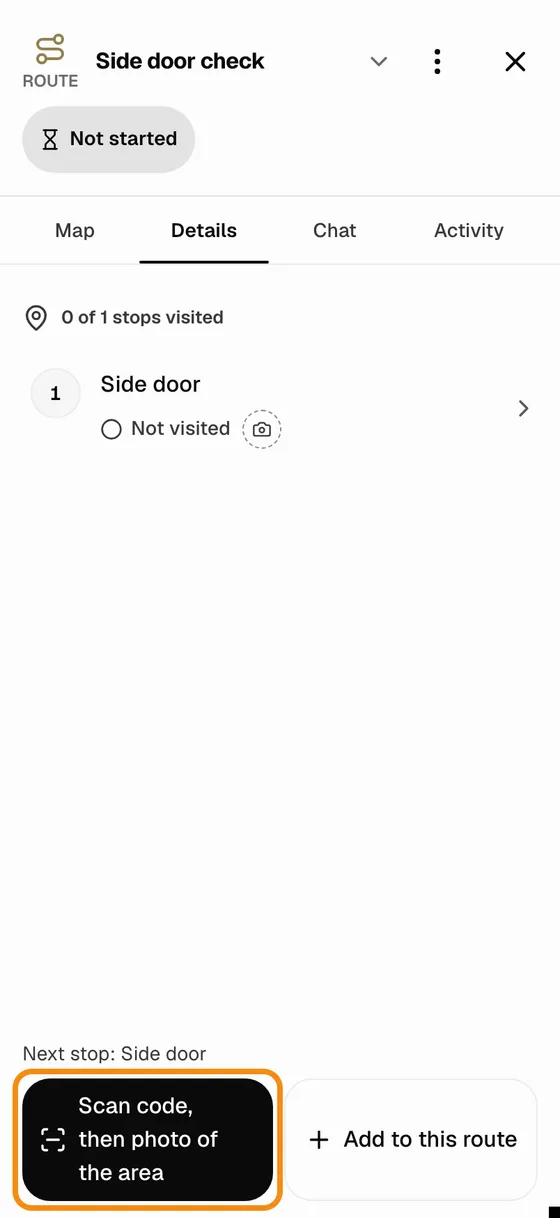
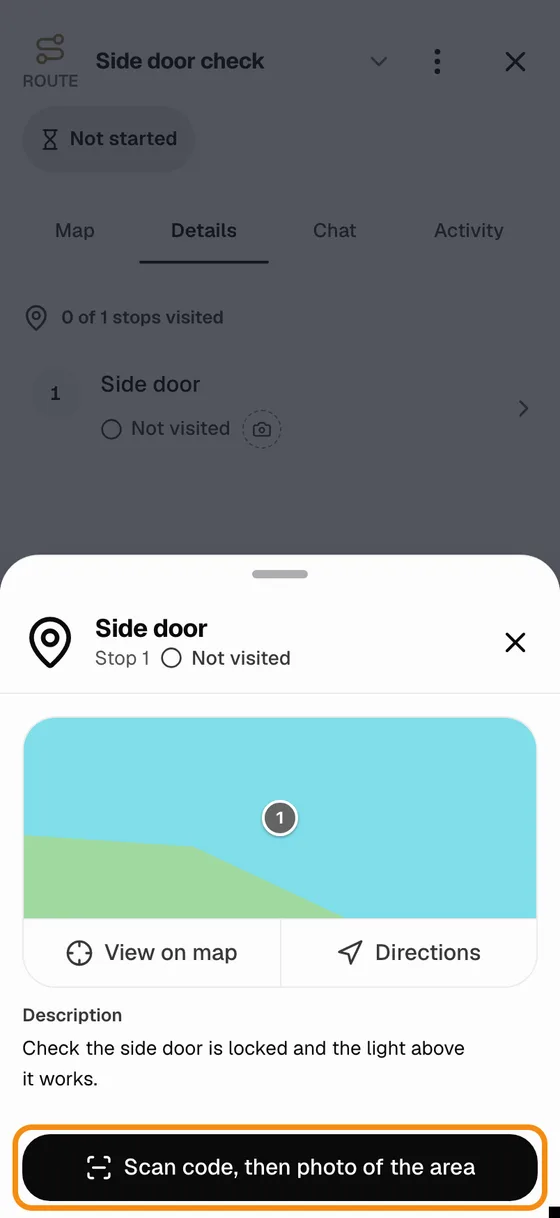
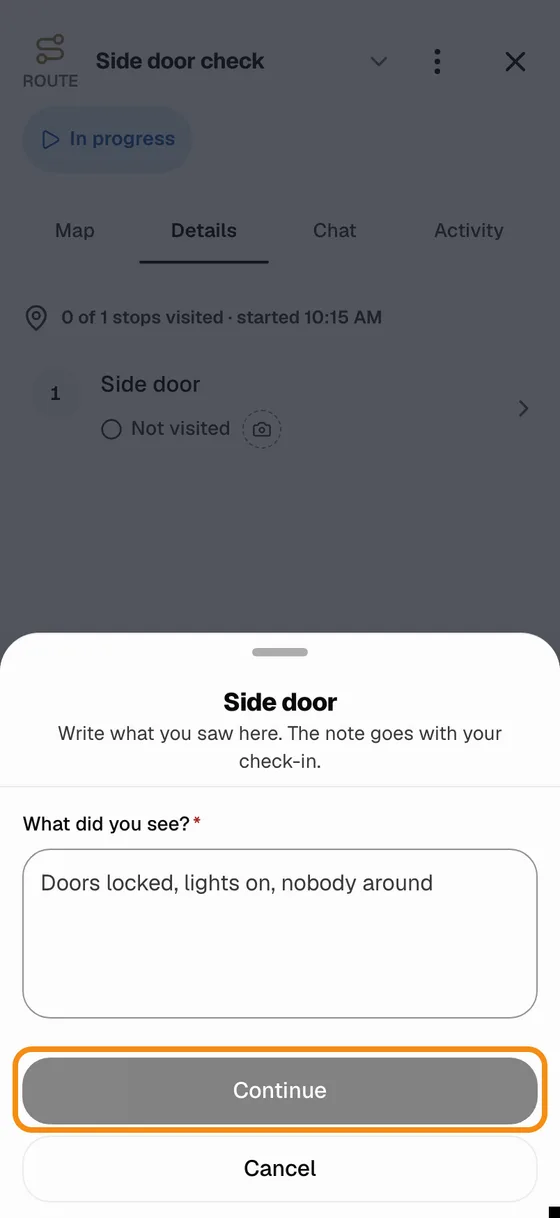
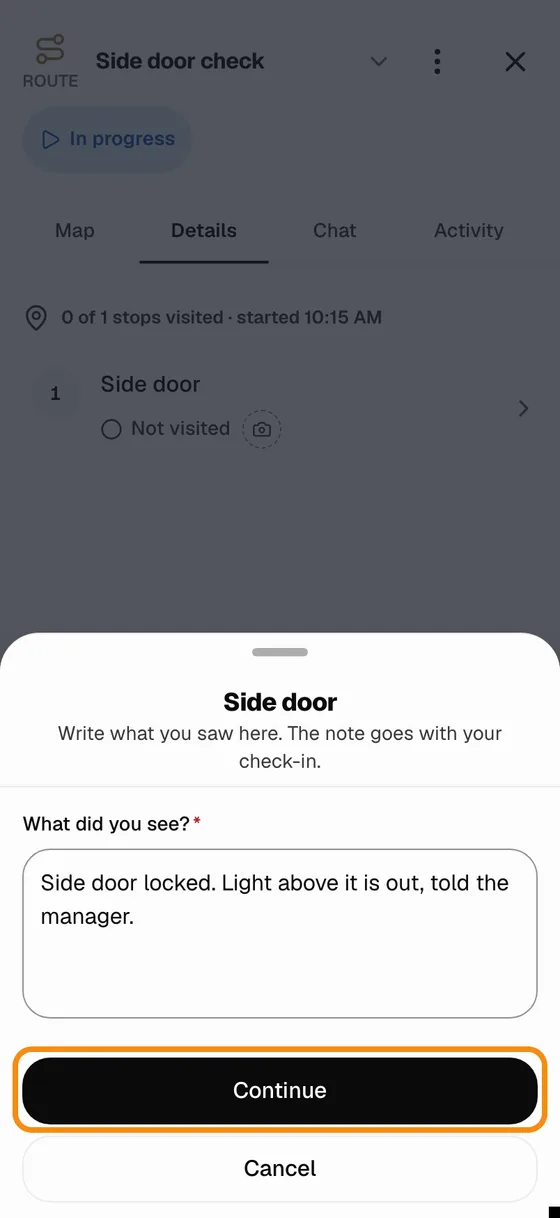
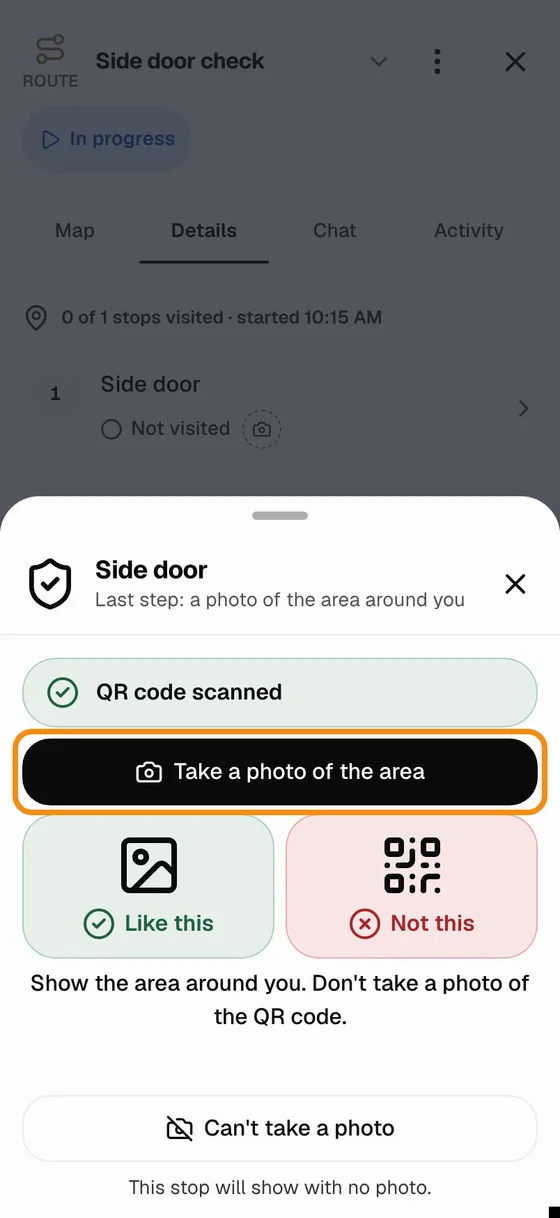
Checkpoints scanned
Step 2Every checkpoint on the patrol
- Open the patrol: in the bar on the left, click Routes, then the patrol.
- Each checkpoint has its own row, in the order the guard walks them.
- Under the name is what the guard is asked to check there.
- Each row shows how it was proven (QR code, NFC tag or photo) and the time the guard was there.
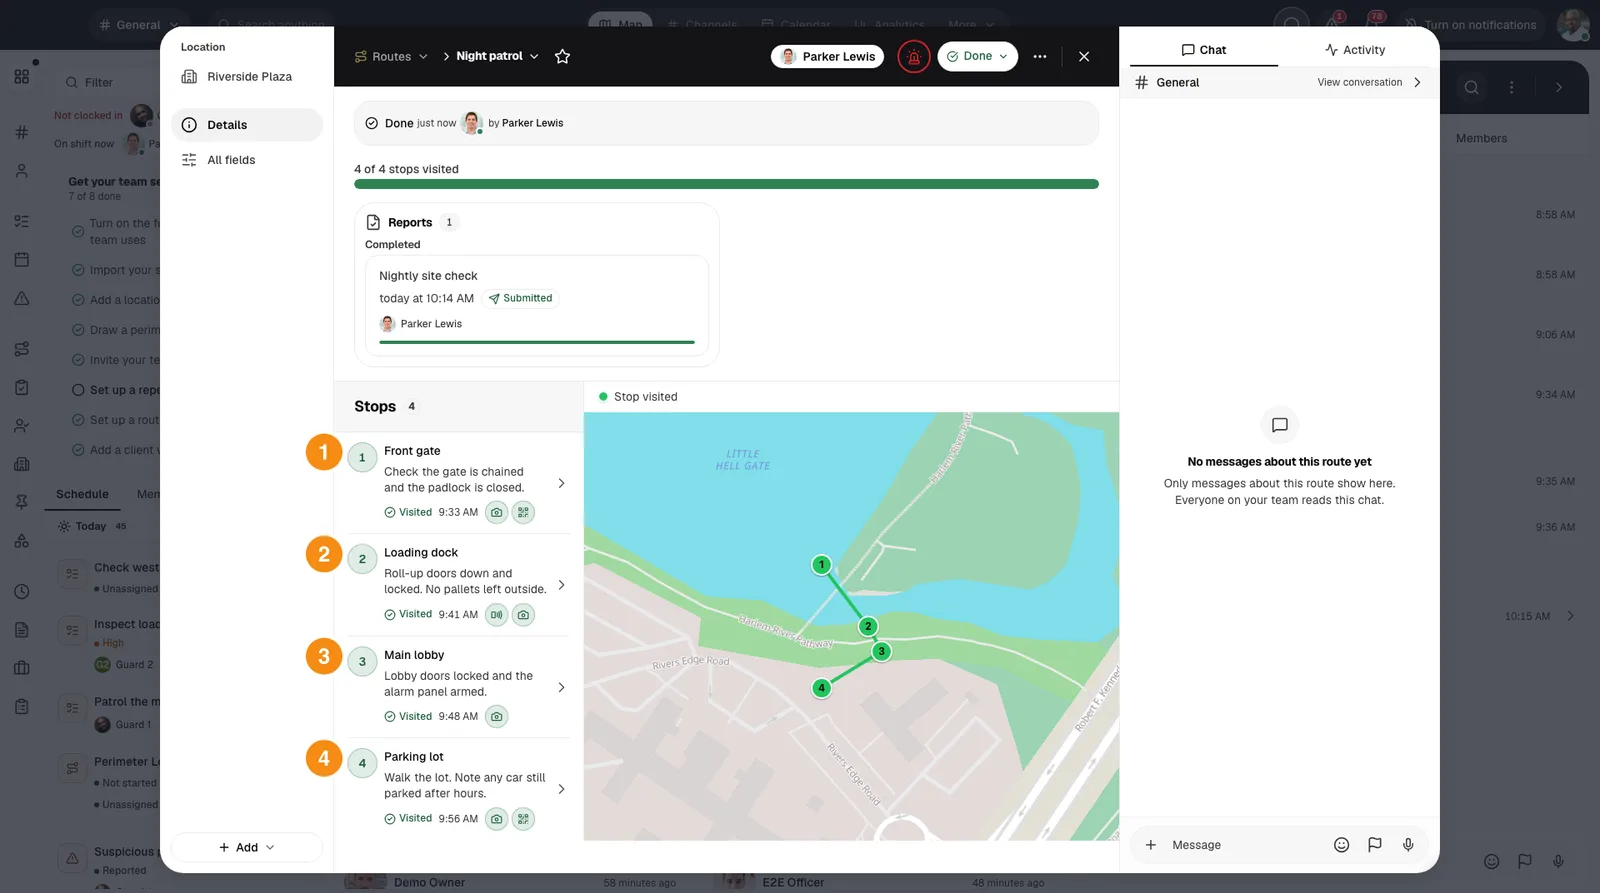
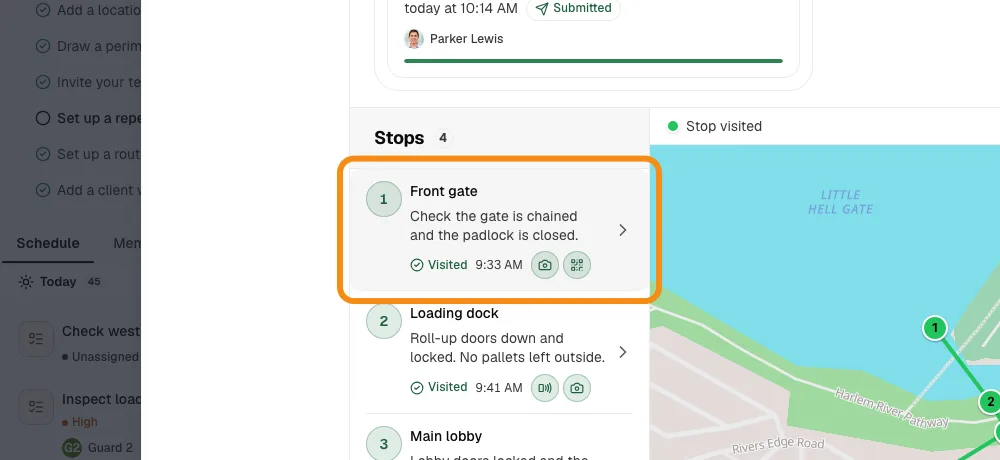
- 1Scanned by QR code: Front gate: the guard scanned the QR sticker there, wrote what they saw and took a photo. The time is when they scanned it.
- 2Tapped by NFC tag: Loading dock: the guard held the phone to the NFC tag there, wrote what they saw and took a photo.
- 3Photo only: Main lobby: this checkpoint asks for a photo and a written description.
- 4Scanned by QR code: Parking lot: the guard scanned the QR sticker there, wrote what they saw and took a photo.
Step 3Open a checkpoint
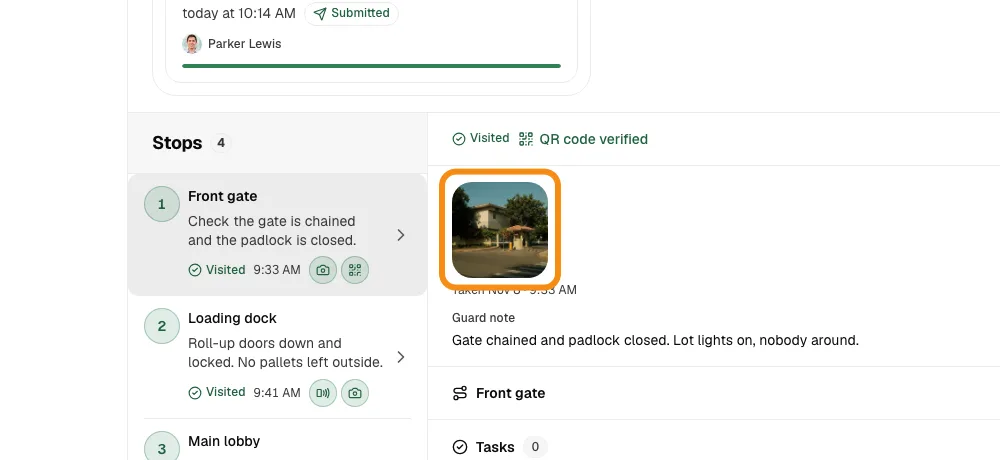
- Click a checkpoint row.
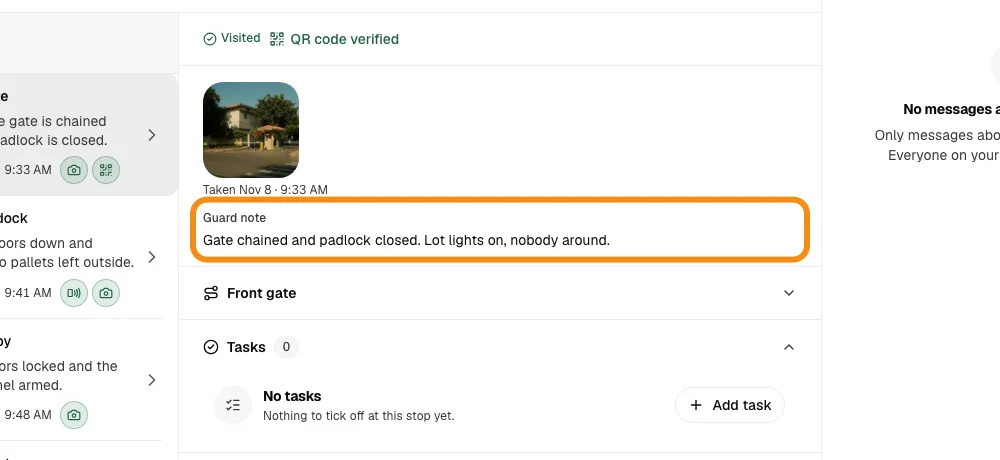
- It opens beside the list: how it was proven, the time, what the guard wrote, and the photo they took there.
Step 4See the photo full size
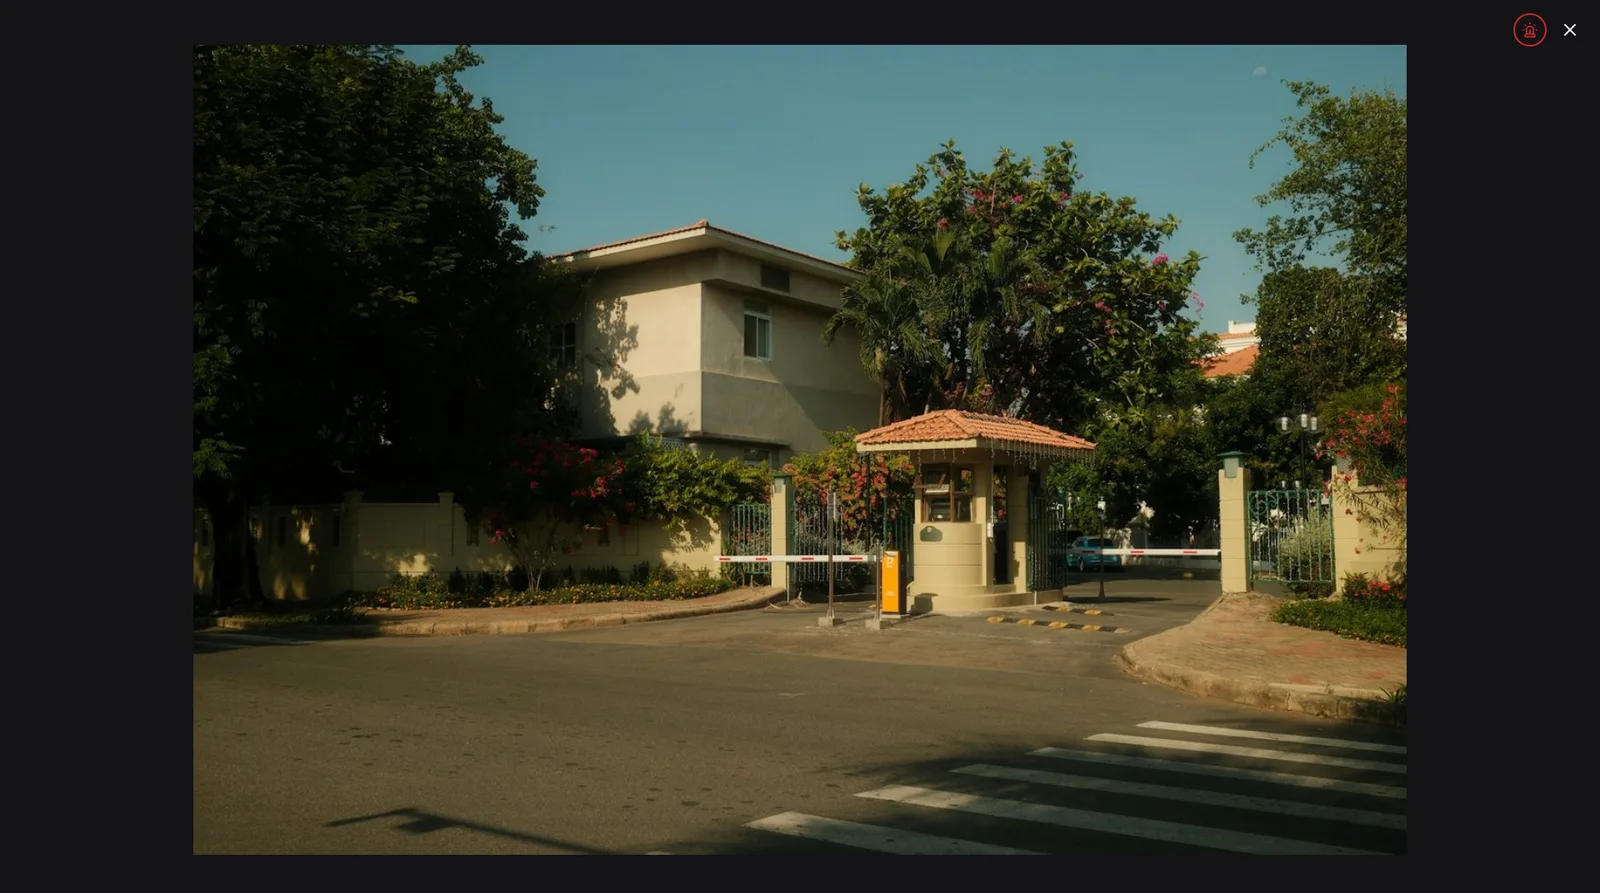
- Click the photo. It opens full size.
- Press Esc or click the X to close it.
The checkpoint report
Step 5Download the checkpoint report
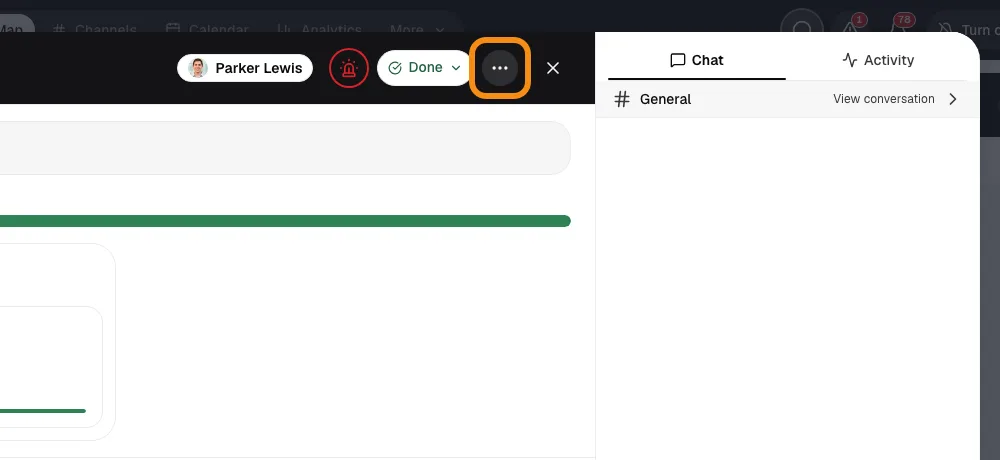
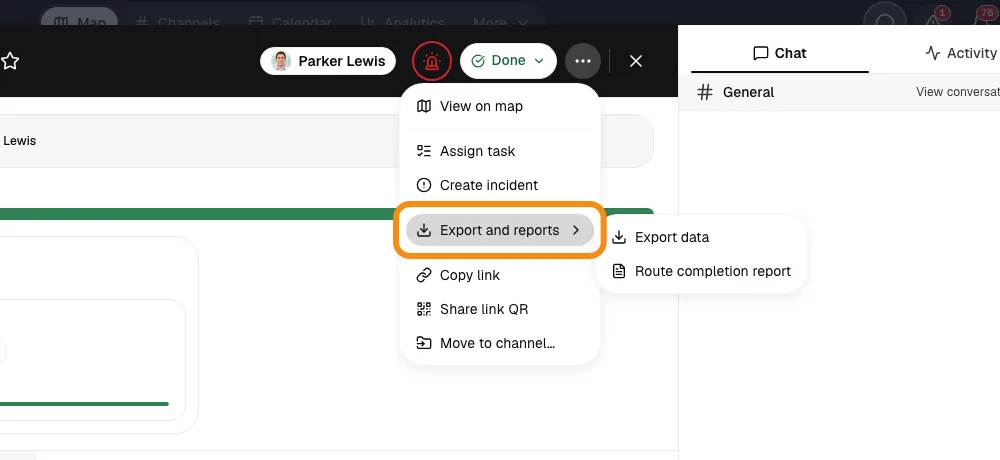
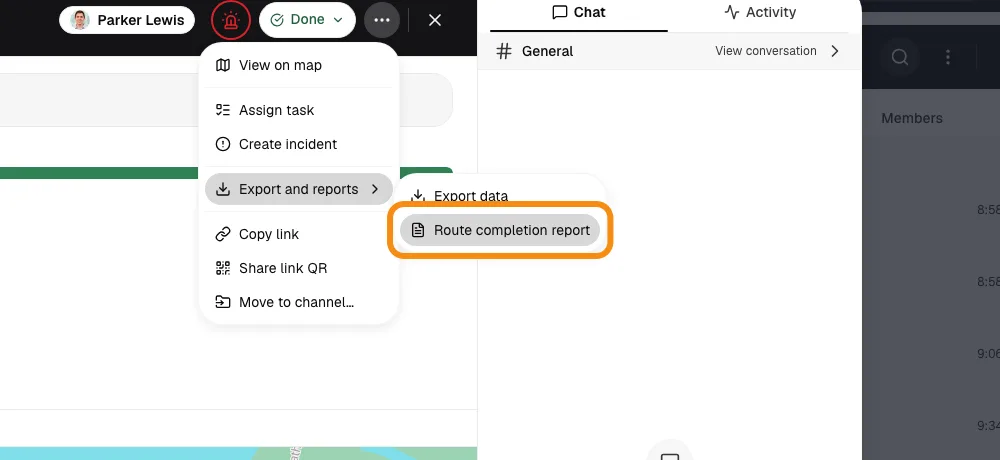
- Open the patrol's menu, then Export and reports, then the report.
- The PDF lists every checkpoint in order: how it was proven, the time, what the guard was asked to check, what they wrote, and the photo.
Step 6A report for your client
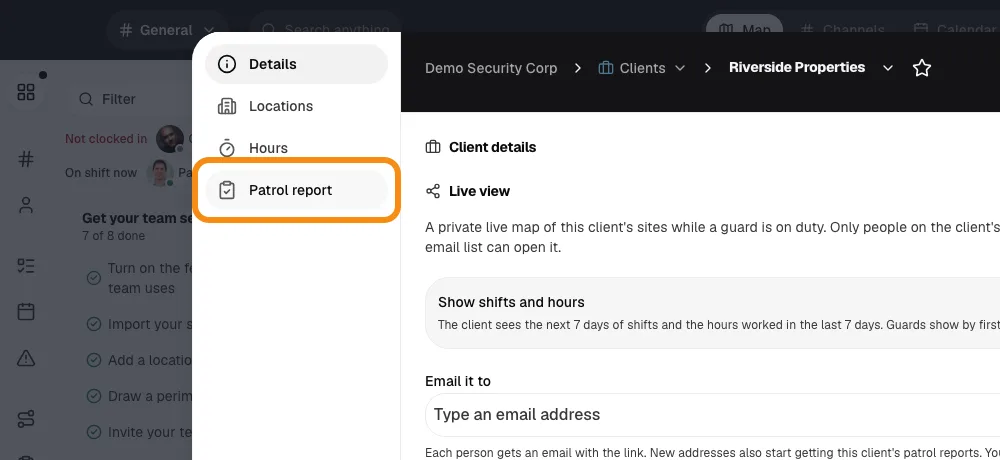
- Open the client and click its patrol report tab, then pick the day.
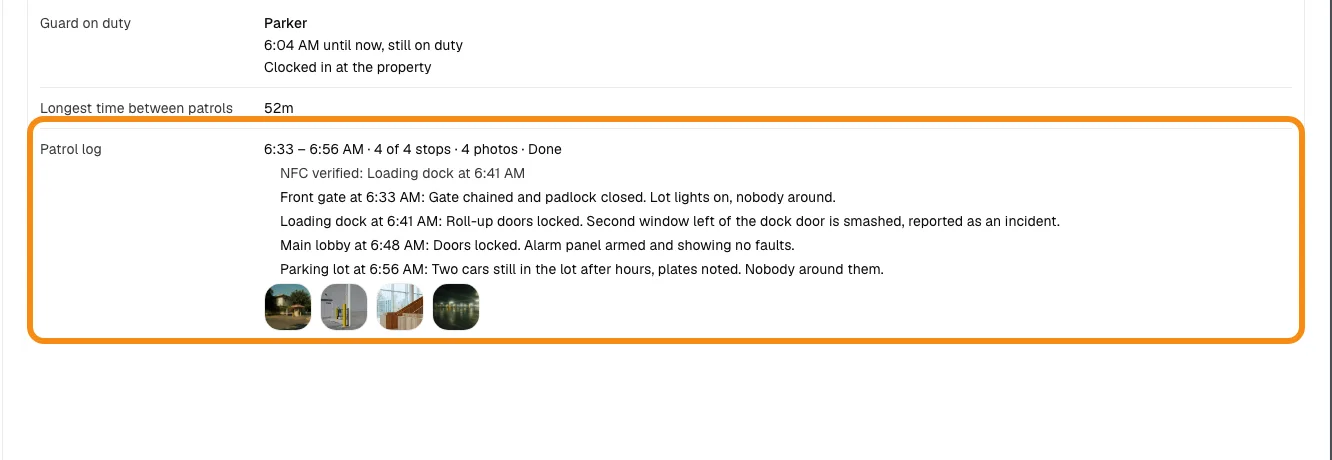
- Each round is listed with the guard, the time and the checkpoints done, with what the guard wrote at each one.
- The photos the guards took are with each round.
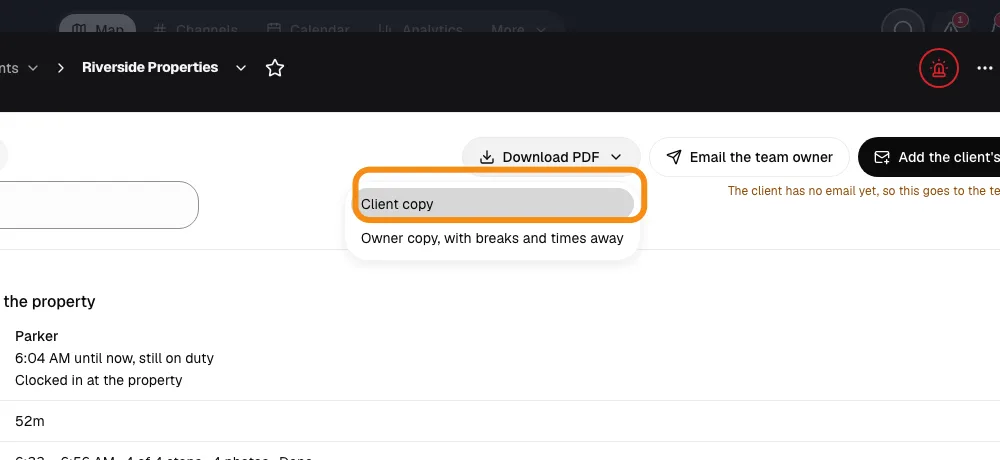
Step 7Download it as a PDF
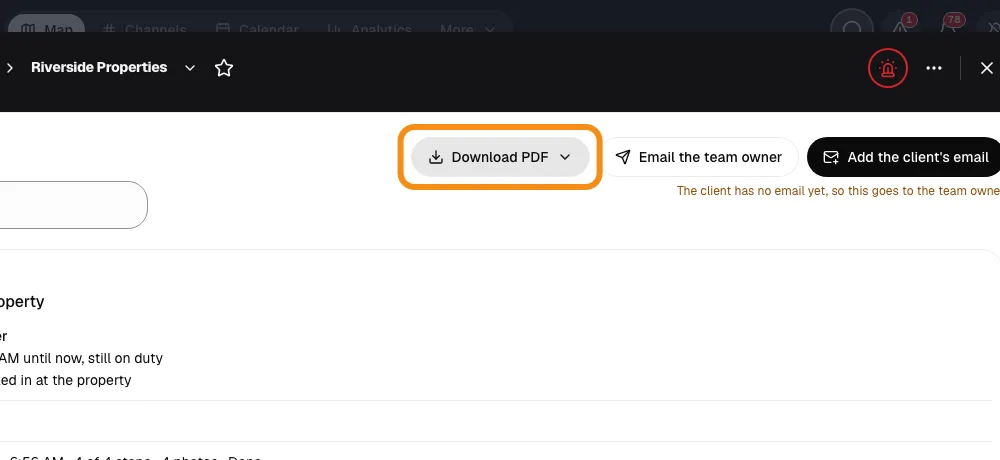
- Click Download and pick the client copy.
- You can also have the report emailed to the client after each shift or every day.
Real-time incident reports
Step 8Open Incidents
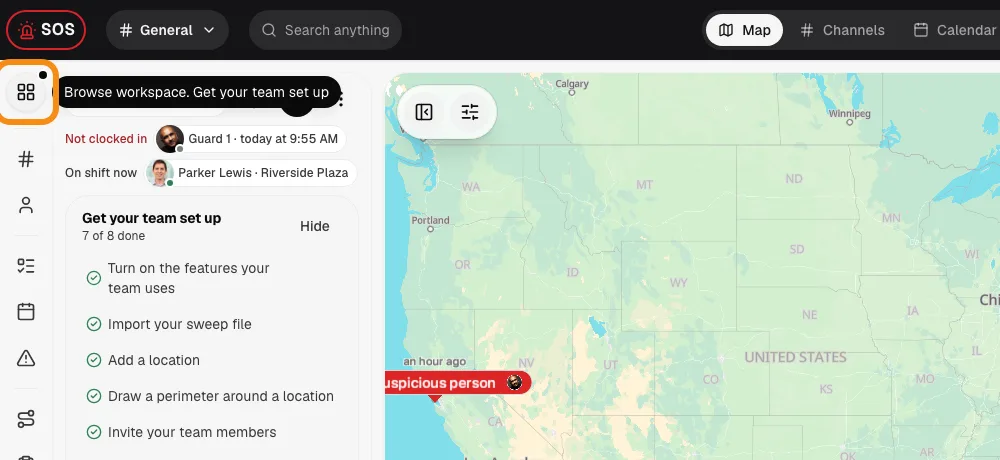
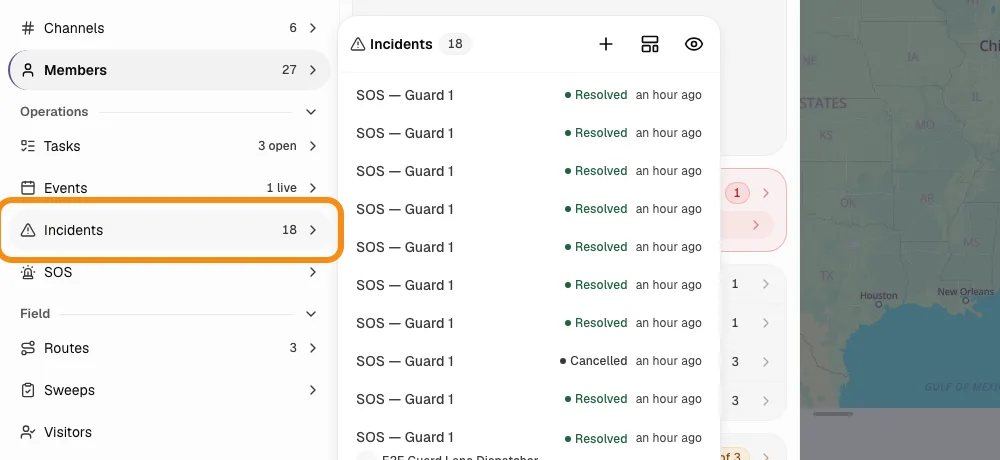
- Click the grid button at the top left (Browse workspace) and click Incidents.
- The list of incidents opens. Keep it open: new ones come in on their own.
Step 9A guard reports it, you see it at once
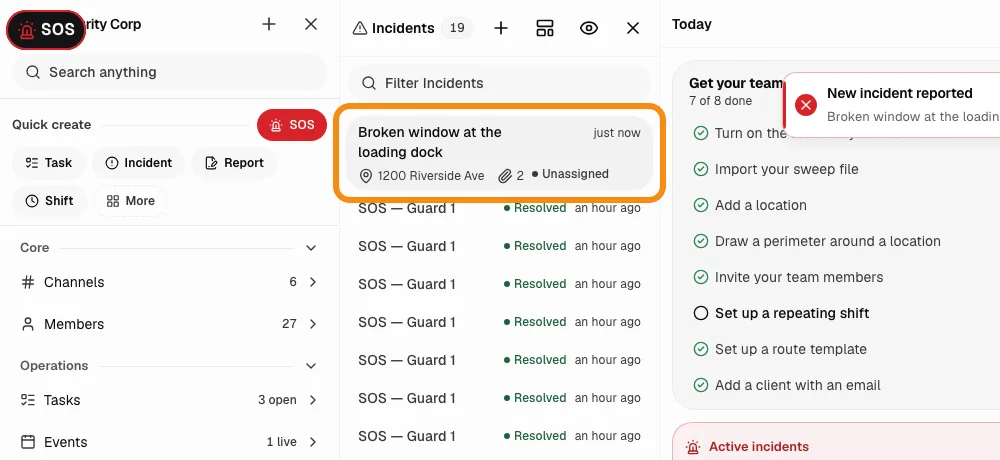
- The guard reports the incident in the TeamMap app: what happened, where, and photos.
- It shows up in your list the moment it is sent, and a New incident reported note pops up. No need to refresh.
- Click it to read it.
Step 10Read the incident
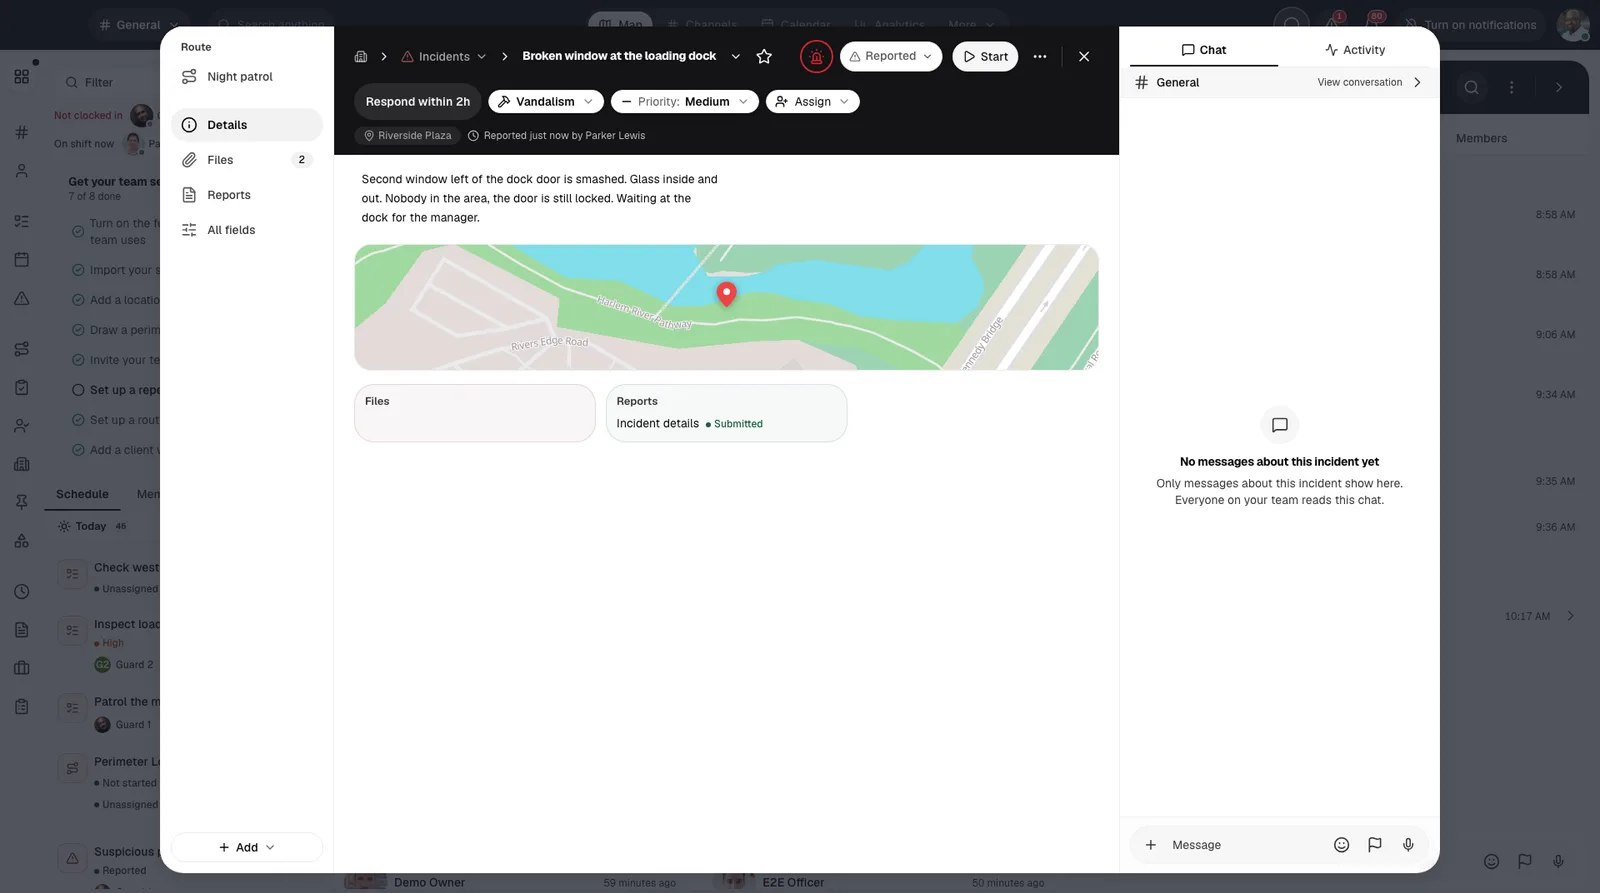
- The incident shows what the guard wrote, its type and priority, the site, a map, who reported it and when.
- Respond within shows how long is left to respond.
- It is tied to the patrol it came from, at the top left.
Step 11See the incident photos
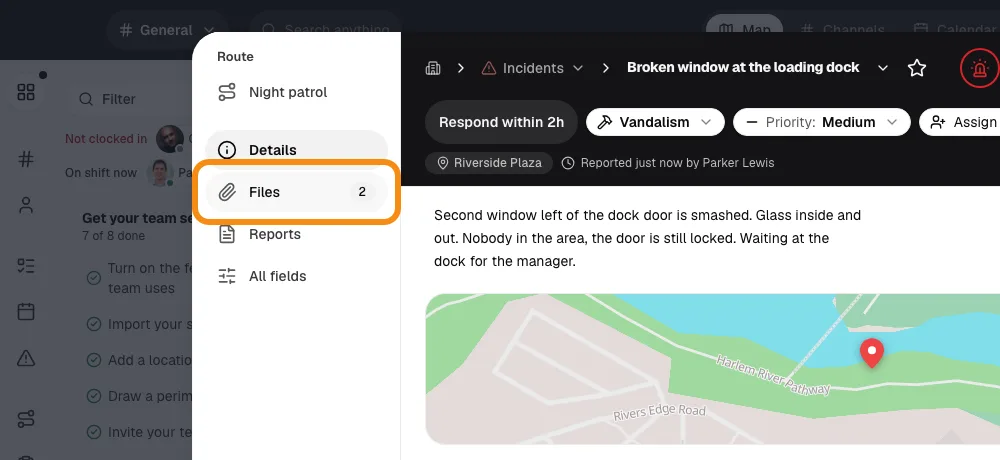
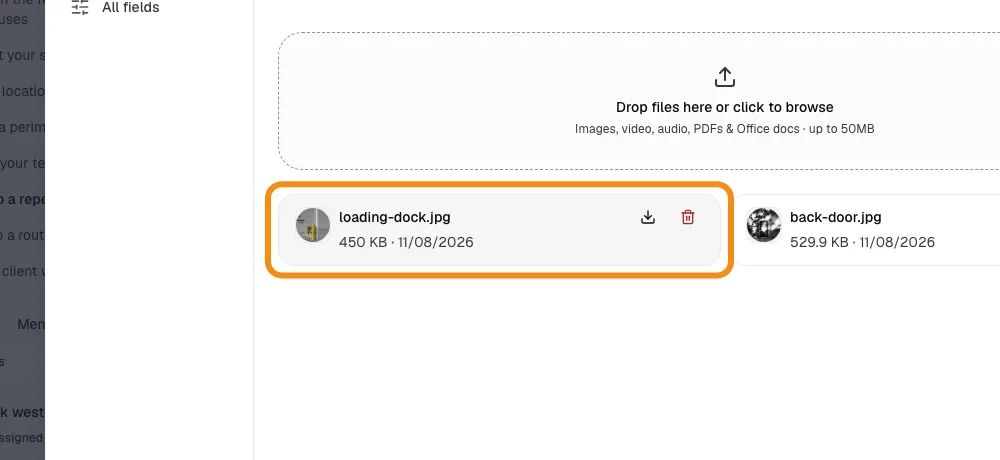
- Click Files.
- Every photo the guard added is there.
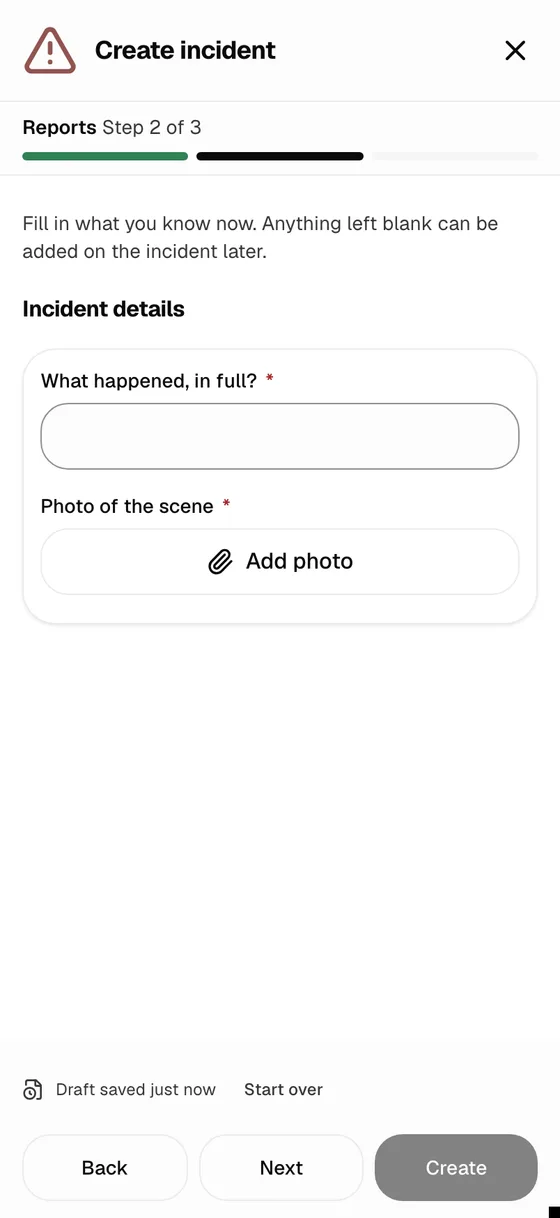
Step 12A guard cannot send an incomplete incident
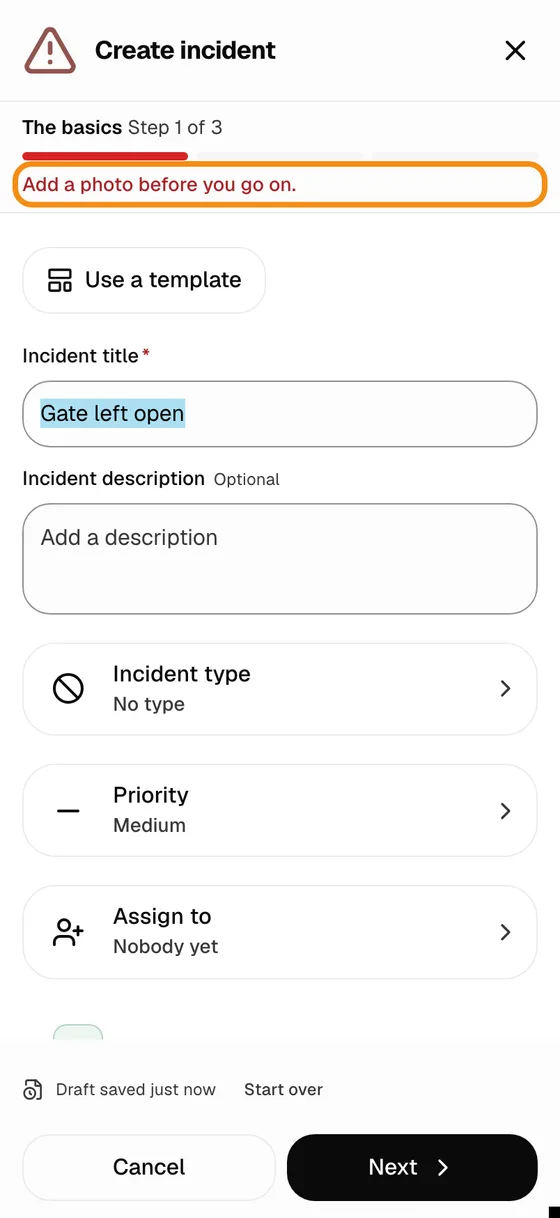
- Build the report your company requires, and make it required on incidents.
- With your team's incident rules on, the guard cannot go on without a photo.
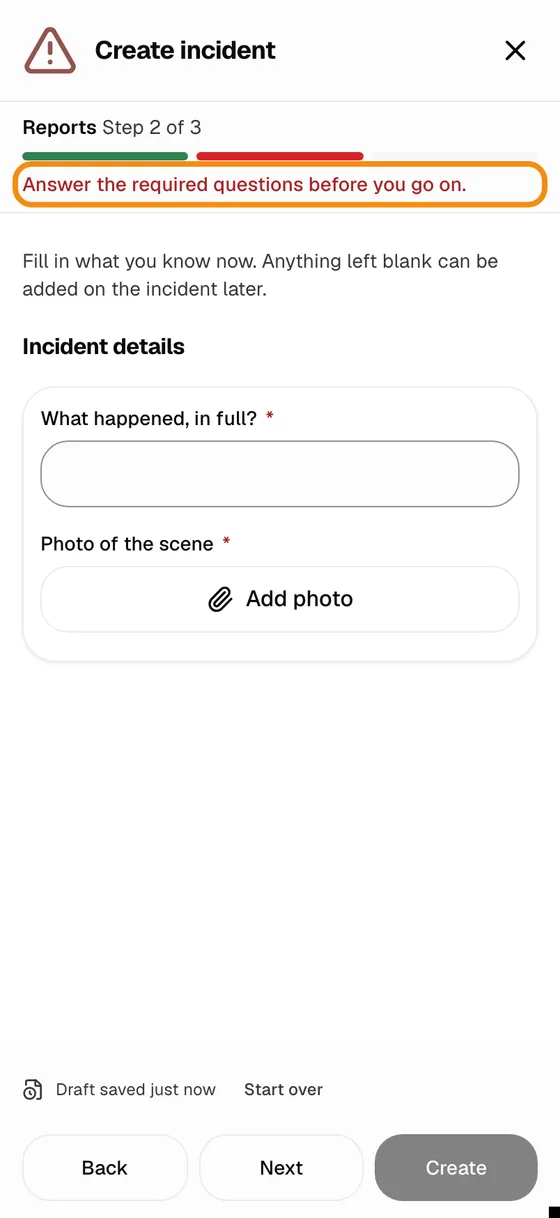
- The report opens inside the incident form. The guard cannot go past it until the required questions are answered.
- Supervisors and dispatchers logging an incident are not held to it.
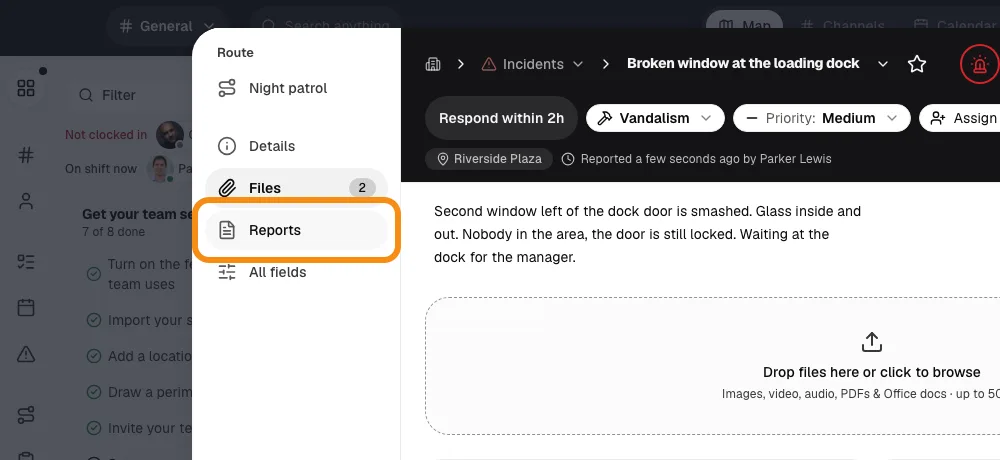
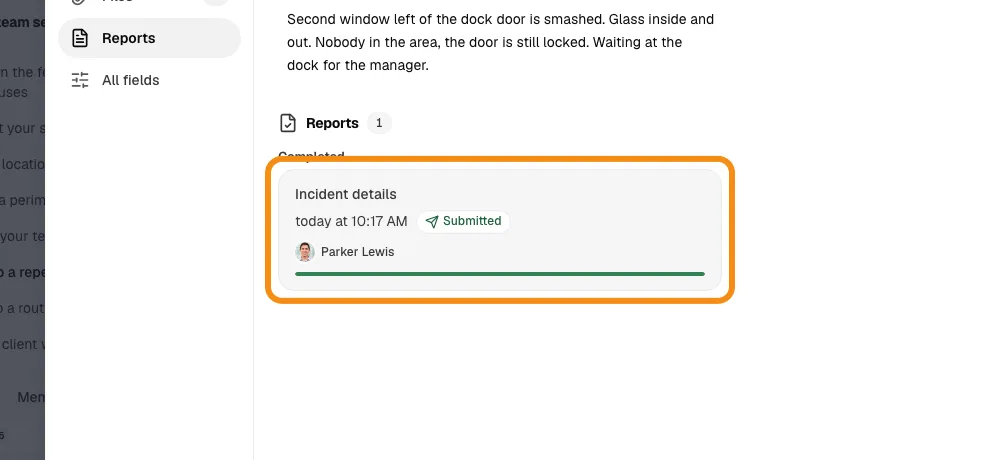
- The answers stay with the incident, under Reports.
Step 13Download the incident report
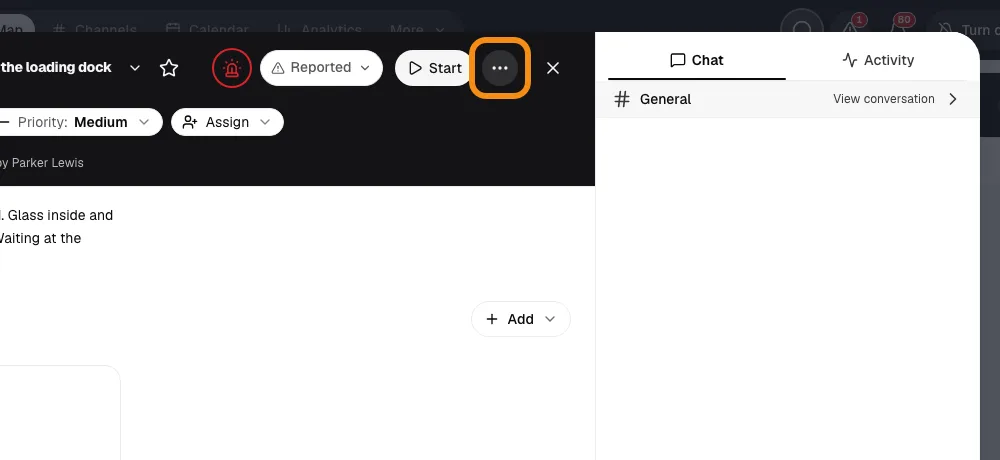
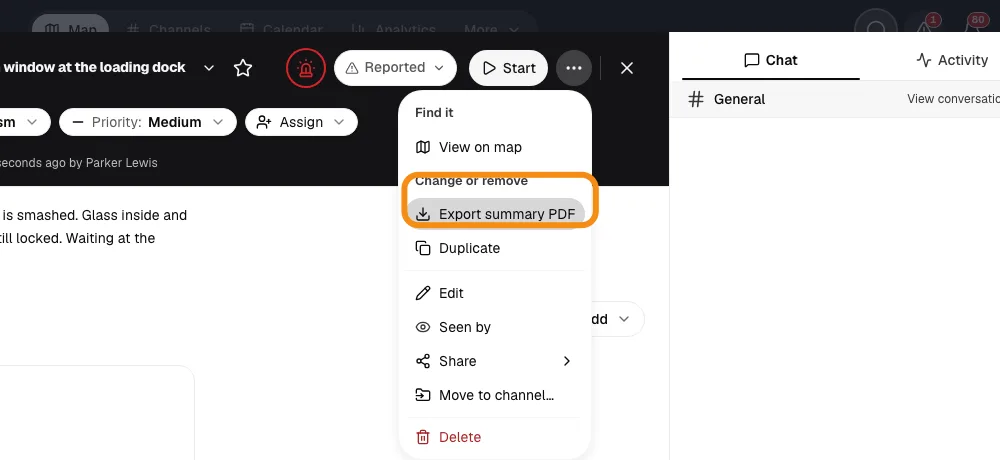
- Open the incident's menu and pick the PDF.
- The PDF has the description, the photos, the location, the timeline and the reports filed on it.
Custom reports
Step 14A report your team built
- Build your own report templates with the questions you need: text, yes or no, choices, numbers, dates, ratings, photos, videos, files and signatures.
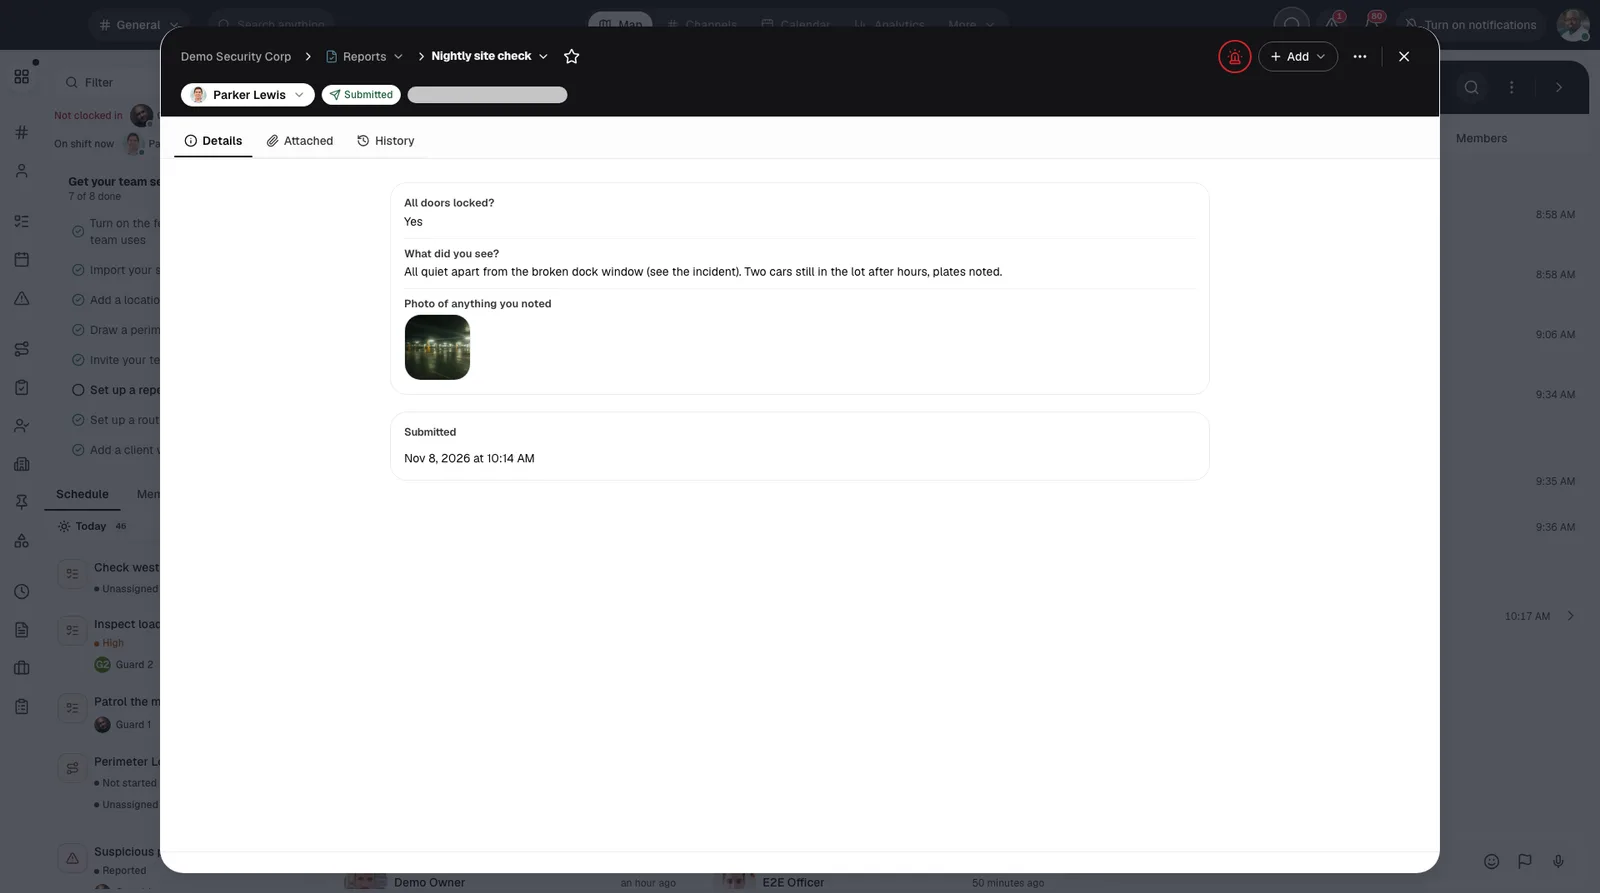
- A guard fills it in on their phone. Open it to see each question with the guard's answer and photo, who filed it and when it was sent.
- This one was filed on the night patrol, so it shows on that patrol too, under Reports.
Step 15An incomplete report cannot be sent
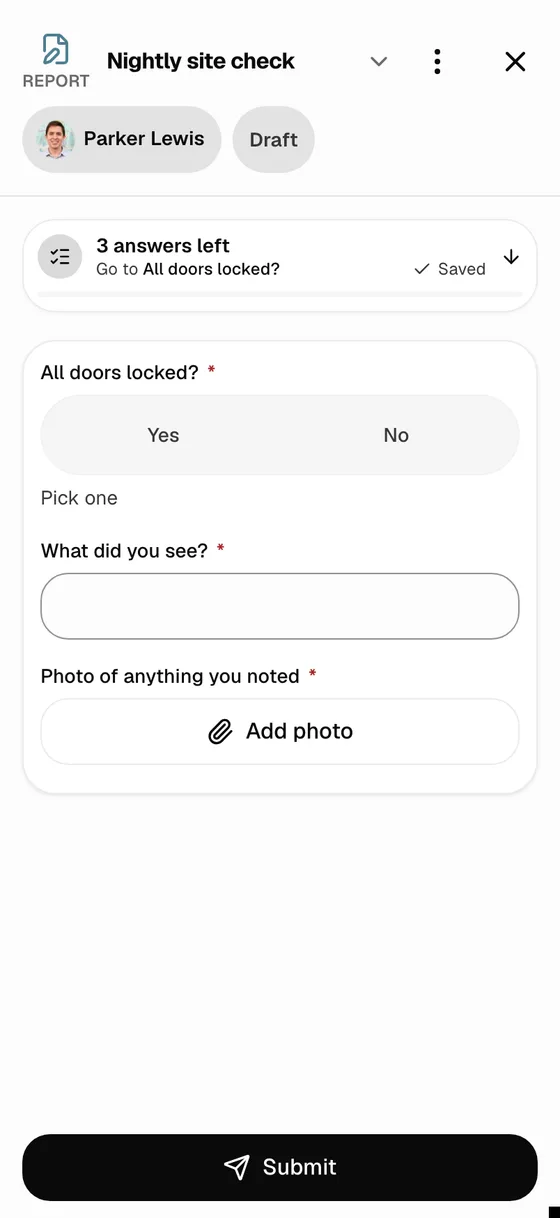
- When you build a report, mark any question Required, including a photo question.
- Until every required question is answered, the guard cannot submit. The app says how many are left.
Guards on post
Step 16See the guard on their shift
- TeamMap tracks each guard's location while they are on shift.
- Every site has a circle around it. Open the shift to see the guard and the site.
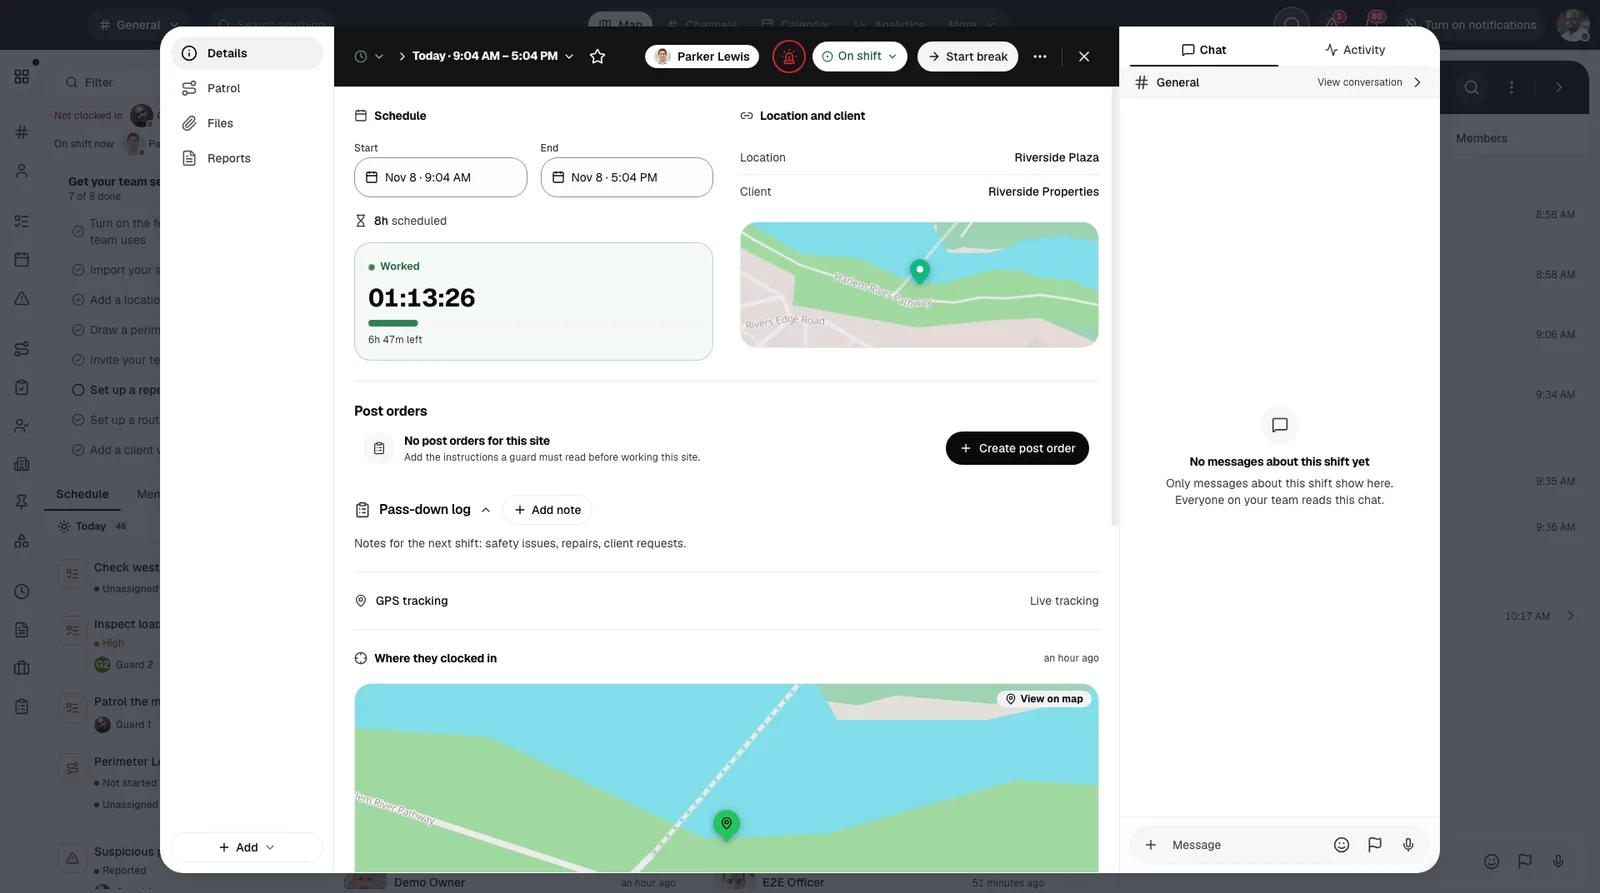
Step 17If a guard leaves the site, you are told
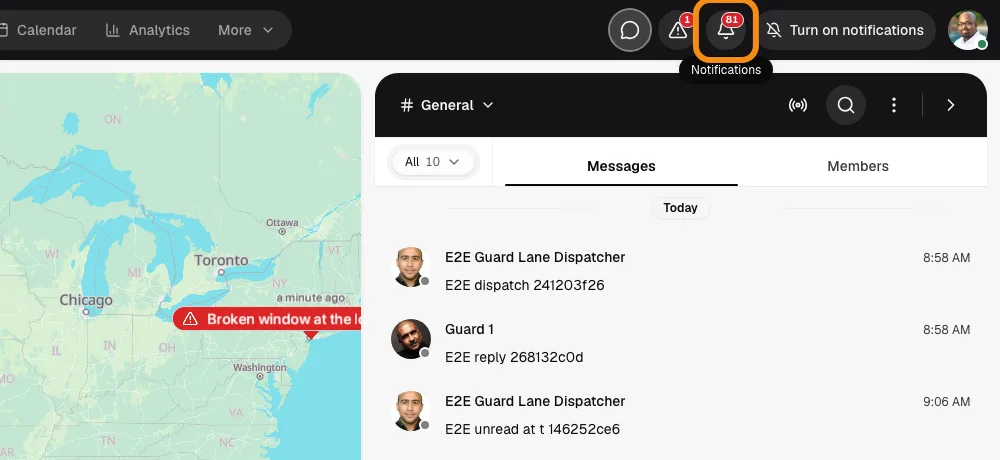
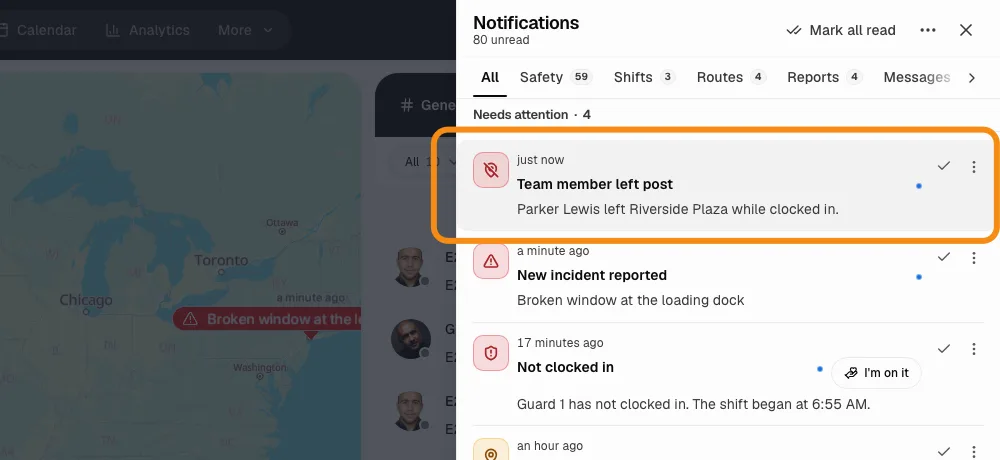
- If the guard walks out of the site's circle during a shift, the shift shows it and an alert goes out.
- You choose how long a guard can be away before the alert goes out.
Good to know
- How a checkpoint is proven
- You pick it per checkpoint when you build the patrol: scan a QR code, tap an NFC tag, be there by GPS, or take a photo. You can ask for a written note and a photo as well as a scan.
- Your company's policies
- Put your rules in post orders and team rules, and guards confirm they have read them. Make your own report required on incidents.
- Your team's words
- Your team can rename things, so your screens may say Patrols for Routes, Checkpoint for Stop, or Site or Property for Location.