Dispatch a guard from the map in three steps
Dispatch a guard in three steps: pick who, pick where, add instructions. It lands on their phone as a task with the location attached.

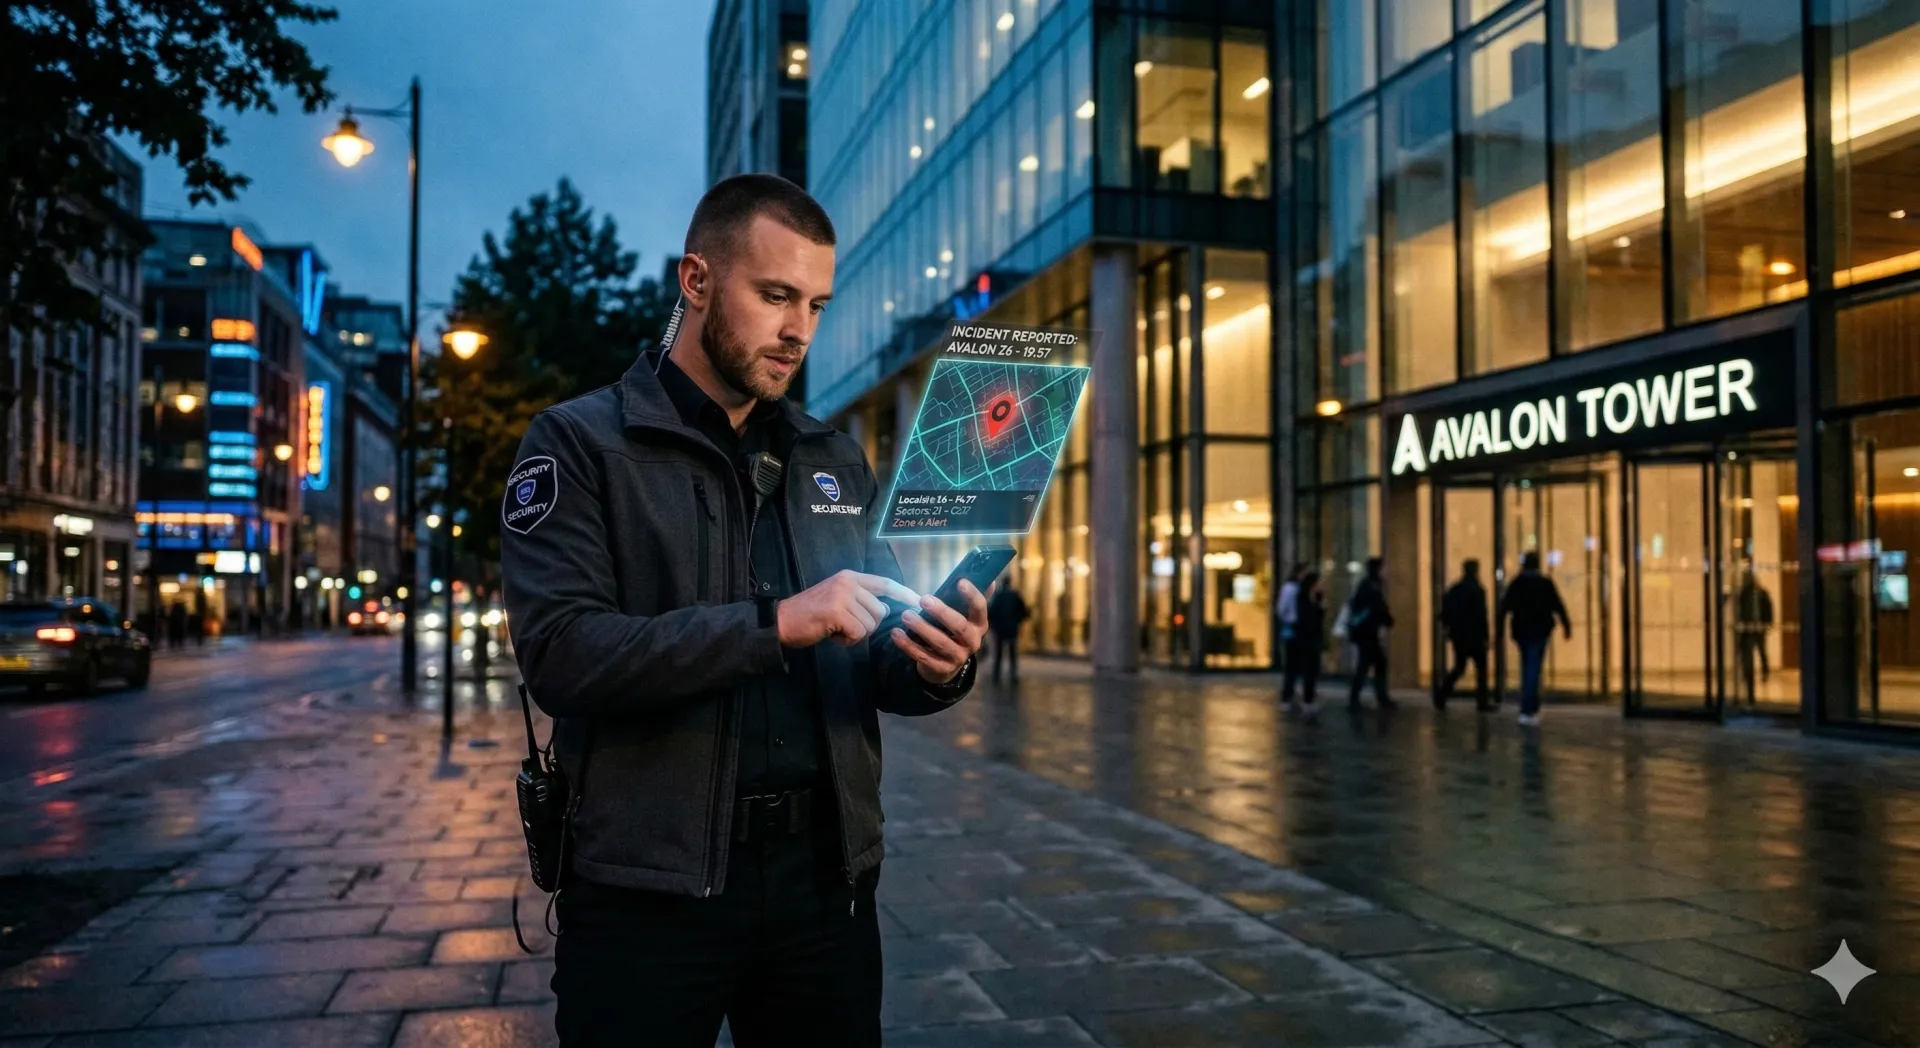
Sending a guard somewhere should take three decisions: who goes, where they are going, and what they need to know. Dispatch asks exactly those, in that order, and nothing else.
Pick the guard. Pick the destination, which can be a saved site, a pin, or a spot on the map that is not saved anywhere yet. Add a template and instructions, and send. It lands on their phone as a task with the location attached and a record of who sent it.
The three steps to dispatch a guard
- Who goes. Choose the guard being sent.
- Where. Search your saved places and pins, or choose to pick a spot on the map instead.
- Details. Optionally start from a task template, then add the instructions.
Send, and the guard gets a task with the destination on it. You can step back a stage at any point without losing what you have already chosen.
Four ways to set the destination
| Destination | Use it when |
|---|---|
| A saved place | The site is already in your list, and the task carries the site with it |
| A pin | Something already marked on the map: a gate, a hydrant, a problem spot |
| The pin you are looking at | You are already on a pin and want someone sent to it now |
| A spot on the map | Nothing is saved there yet. Click the map and dispatch to that spot |
That last one matters more than it sounds. The 2am call is rarely about a place already in your system. The alley behind the client's building has no site record and never will.
Sending someone to an unsaved spot is the difference between dispatching in ten seconds and creating a site record first while the caller waits.
Dispatching straight from the live map
If you are already looking at the map when the call comes in, start there. With a spot already chosen, dispatch skips straight to the details step.
There is a faster path on the map too. Arm dispatch for one or more guards and a line follows your cursor from each guard's live position, coloring itself for whatever is underneath. Click a task, incident, event, pin, area or another member, and you get the actions that make sense for it: respond to the incident, patrol the area, meet the member, go to the pin.
Sending several guards at once gives each of them their own task, so progress is tracked per person rather than three people sharing an item nobody owns. Assigning an existing task is the one exception. A task belongs to one person, so that action refuses a multi-guard dispatch instead of quietly picking one.
Deciding which guard to send
The map does the reasoning for you.
- Who is closest. Guard positions are live, so proximity is visible before you commit
- Who is already busy. Guards with open tasks show their current work on the same surface
- Everything in one frame. Guards, incidents, tasks, pins and geofences share one map, so you are not comparing two screens under pressure
Nearest is not always right. The nearest guard may be the only one covering a post that cannot go dark, and that judgment stays with the dispatcher. What the map removes is the guessing, not the decision. Where that decision has to follow a rule rather than a judgment, it belongs in a written escalation matrix.
What the guard sees
The dispatch arrives as a task on their list, with the location on their map and your instructions attached. If it carries a verification requirement, whether GPS, an NFC tag, a QR code or a photo, the guard sees what will be needed before they set off.
That last detail saves a return trip. A guard who learns at the scene that a photo was required has already put the phone away. More on how those requirements work in task assignment and verification.
The dispatch record you get for free
Because a dispatch is a real task rather than a radio call, the evidence assembles itself.
- Who was sent, and who sent them
- When the guard started, and where they were
- How completion was verified
- An audit log entry, on Pro and up, that exports to CSV or JSON
Six months later, when a client asks why nobody responded to the 2:14am call, that record is the answer. A radio log is not. This is the same argument as checkpoint scans over a signed tour sheet, applied to response instead of patrol.
Getting started with dispatch
Open dispatch on a guard, choose where they are going, and send. Nothing to configure first.
Send a guard to
- A saved place
- A pin on the map
- A spot with nothing saved on it yet
- An open task, incident, event or patrol area
Every dispatch becomes a task with an owner, a place and a record of how it was finished. If you are building the response side of this out properly, the incident response playbook template covers what happens after the guard arrives.
Continue Reading

Offline mode: what TeamMap does with no signal
Offline mode holds scans, reports, clock-ins and photos on the phone until signal returns. What still works, what does not, and the radio fallback.
Channel communication in TeamMap: a setup guide
Set up channels in TeamMap by site, shift and incident, decide open or private, tune notifications, and export the history before retention closes.
Task assignment and tracking in TeamMap: a guide
Task assignment in TeamMap: set priority and due time, require photo, GPS, NFC or QR proof, watch what is overdue, and keep the load even across the team.